
How to Install Stadium Seating: A Practical Guide for Venue Projects
Installing stadium seating looks straightforward until you’re standing on a concrete step with three thousand seats, a fixed handover date, and a drawing that doesn’t quite match the as-built dimensions.
This guide covers the decisions that need to be made before the first drill bit touches concrete, the three mounting methods and when to use each, and the installation sequence that keeps a large project on schedule.
Step 1: Survey the stand before you order
Most installation problems are actually specification problems that were discovered too late. Before installation — ideally before ordering — confirm:
- Step height and depth at multiple points, not just one. Concrete steps vary, especially on older stands and on curved sections.
- Row width (tread depth) measured front to back.
- Whether the riser face is vertical, sloped, or has a nosing — this determines whether riser mounting is viable.
- Substrate condition — new concrete, old concrete, or steel framework. Each needs a different anchor type.
- Curved sections — these require more setting-out time and often a different seat spacing approach than straight runs.
- Access for delivery and storage — where will pallets be offloaded, and can they reach the stand?
Record these against your seating layout drawing and resolve any mismatch with your supplier before production starts, not after.
Step 2: Choose the right mounting method
Seats are mounted three ways, and the choice is dictated by the step geometry, not by preference.
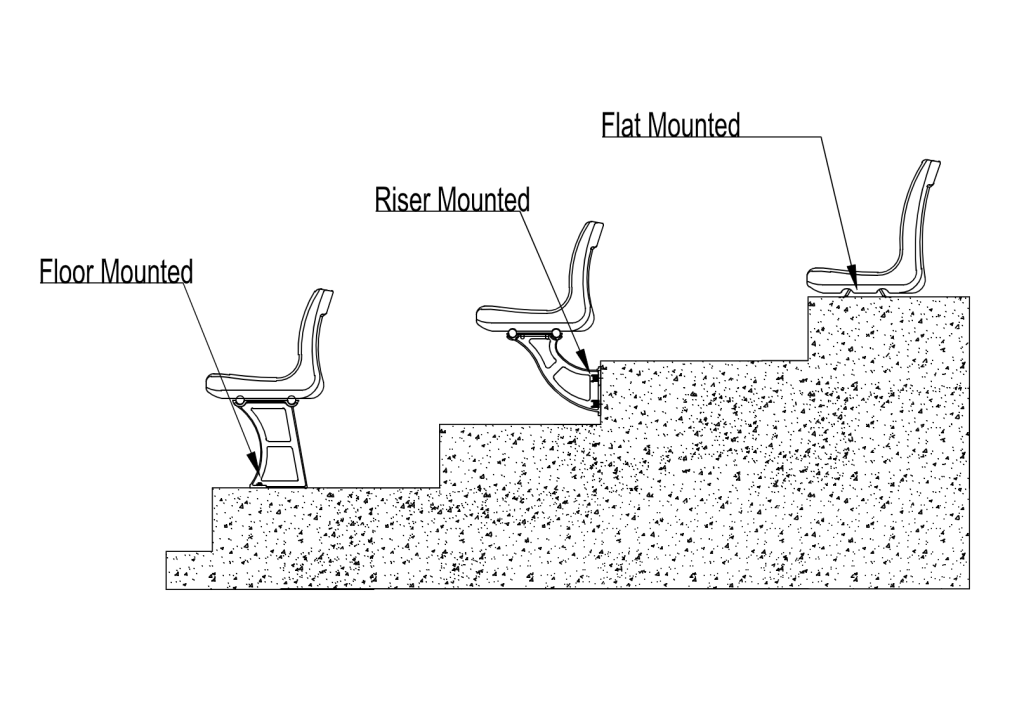
| Mounting method | When to use it | Typical requirement |
| Flat mounted | Seat fixed directly onto the horizontal step surface | Step height 320–350 mm, row width > 650 mm |
| Riser mounted | Seat fixed to the vertical face of the step | Step height 240–500 mm, row width > 800 mm |
| Floor mounted | No riser surface available, or step height outside the flat-mount range | Row width > 800 mm |
Flat mounting is generally the most economical option and the fastest to install, which is why it’s specified wherever the step geometry allows it.
Riser mounting is used where the tread is too shallow to carry the seat, or where a deeper clearway in front of each row is wanted.
Floor mounting covers the remaining cases — typically flat-floor halls, temporary decks, or stands where the step height falls outside the standard flat-mount range.
If you’re unsure which applies to your stand, send us your step dimensions and we’ll advise before you order.
Step 3: Setting out and marking
This is the stage that determines whether the finished bowl looks professional.
- Establish a datum line — one straight reference line along the front of the first row, from which all other rows are set out. On curved stands, use the radius centre point.
- Mark centre-to-centre spacing along the datum, not seat edge to seat edge. Seat shells have manufacturing tolerances; spacing from centre to centre prevents errors accumulating across a long row.
- Work in manageable sections — typically 20 to 30 seats at a time. Mark, drill, fix, then move on. Marking an entire stand in one pass risks the layout drifting.
- Check against drawings at intervals — verify every tenth seat against the setting-out drawing rather than discovering a drift at the end of the row.
Seats with consistent, repeatable geometry make this materially easier. Seats produced by gas-assisted injection molding hold tight dimensional consistency from unit to unit, so spacing marked on the datum holds true across the whole run.
Step 4: Drilling and fixing
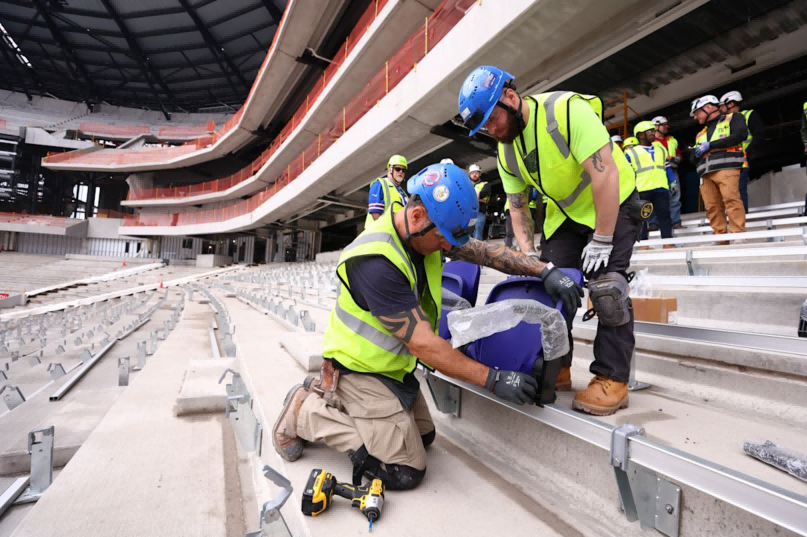
- Use a drill template or jig where the seat model provides one. This is faster than measuring each hole and eliminates the most common source of rework.
- Match the anchor to the substrate. Use mechanical anchors or chemical anchors rated for the concrete condition and the load. For steel frameworks, use bolts of the specified grade. Where the stand is exposed to weather, use stainless or hot-dip galvanised fixings — this is not an area to economise, because corroded fixings are the most common cause of loose seats years later.
- Clear dust from holes before setting anchors. It sounds trivial and it materially affects holding strength.
- Do not fully tighten on first pass. Fit all seats in a section loosely, check alignment, then torque to specification.
Step 5: Mounting the seats
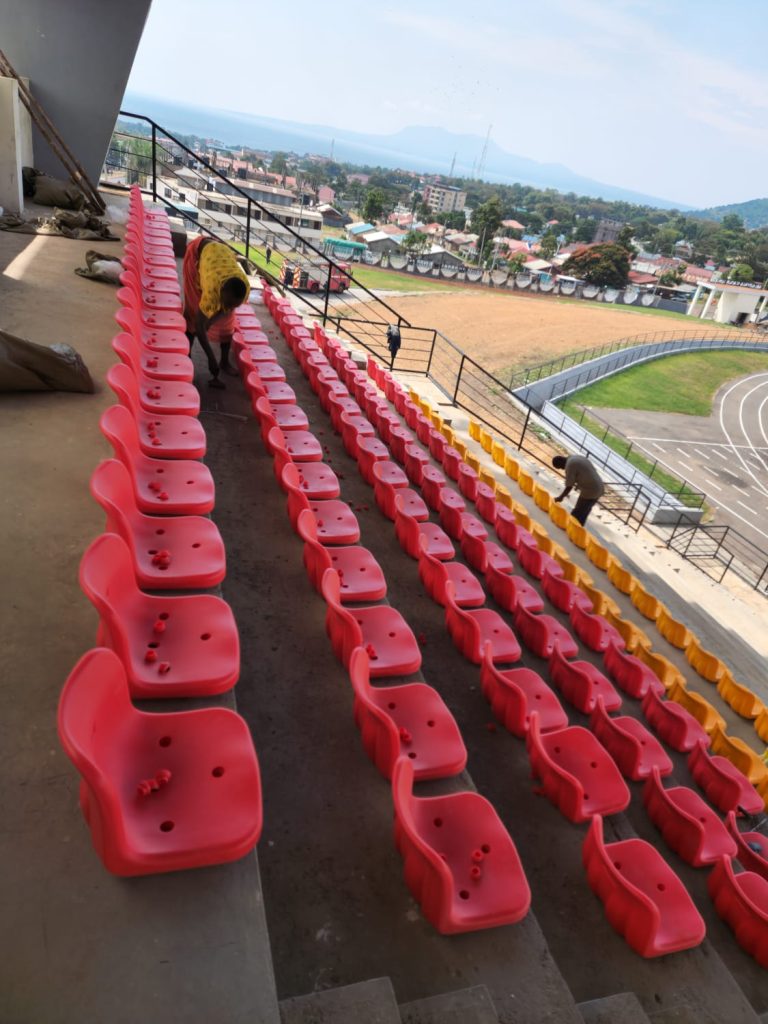
Fit the seat to its bracket or beam first, then offer the assembly to the fixing points. Where seats share a continuous mounting beam, fix the beam to the step first and hang the seats onto it — this is usually faster on long runs than fixing each seat individually.
For tip-up seats, check that the folding mechanism operates freely and returns fully in every unit before moving on. A mechanism that binds when new will not improve with use.
Planning an installation?
Echo Sports produces high-quality spectator seating at a good price for stadiums, arenas and auditoriums, with products exported to more than 80 countries across Southeast Asia, Africa, the Middle East, Europe and South America.
Our efficient service team can advise on mounting method, spacing and installation sequence before your order is placed — and will make sure your orders are processed smoothly and cost-efficiently. We go above and beyond to provide professional advice on any concerns you may have about our products or related matters.
Contact Echo Sports for specifications, colors, project solutions and quotation.